Skateboard bearings make it possible to skateboard. They allow the wheels on a skateboard to roll smoothly and quickly, which is why they need to be cleaned regularly.
Any dirt or debris that gets into your bearings will cause them to wear out quicker and perform poorly for you when you’re skating.
The article: how to clean skateboard bearings contains complete information about how to clean skateboard bearings: what tools are needed, how much time should be allotted for the process, and what materials you’ll need.
It also covers best practices such as storing your bearing after use so dust doesn’t get inside of them before their next use.
How To Clean Skateboard Bearings: Complete Guideline
Here we teach you how to clean skateboard bearings in just five simple steps. Follow these steps to get a better result.
- Remove Wheels
- Remove Bearings and Shields
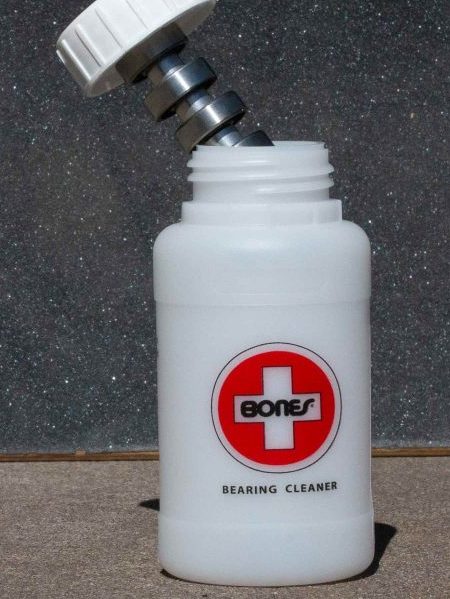
- Soak Bearings in Cleaner
- Dry and Re-Lubricate
- Replace Shields and Mount Bearings
List Of Tools Required To Clean Skateboard Bearings

- Skate tool (or wrench)
- Tray (to store hardware)
- Razorblade or safety pin
- Rag or toothbrush
- Solvent Container or bowl (for solvent)
- Bearing lubricant
1. Remove Wheels
Remove the wheels from your skateboard. If you do not have a skate tool, you can use a wrench or pliers to do this. To protect the surface that you are working on, place the wrench in your tray and put it down on a flat part of the table or floor (if there is no room for a tray, simply place the wrench on a rag).
2. Remove Bearings and Shields

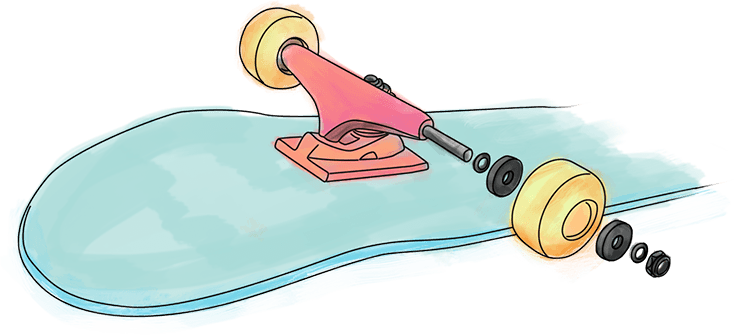
Skateboard wheels have multiple components, including an axle, a bearing, washers, at least one shield (a metal or plastic ring that keeps dirt from getting inside of your bearings), and sometimes spacers. You will need to take all of these various pieces off of the wheel by removing the nuts on either side of the axle.
Bearings and their shields come off a skateboard wheel together, so you will need to take them both out at once. Do this carefully by hand, as dropping bearings or their shields can damage them. Once all the components have been removed from your wheels, put them into your tray
3. Soak Bearings In Solvent

The first step to cleaning skateboard bearings is getting them wet with solvent, which will start dissolving dirt and dried lubricant.
Be aware that some solvents can eat away at rubber shields or other parts on the actual bearing, so you’ll want to avoid specific cleaners that are made for removing the shields on bearings.
If you don’t have access to solvent, you can use rubbing alcohol or even dish soap instead. Put your bearings into a container of your choice and cover them with solvent until they are half-submerged in it.
Soak the bearings overnight, then take out each bearing with a toothbrush and wipe it off with a rag. This will remove most of the dirt from them, but you’ll need to scrub harder to get rid of stuck-on gunk.
4. Remove Rust Using A Safety Pin Or Razor Blade
Use a detergent-free degreasing soap such as Dawn dish soap mixed with water (water replaces the alcohol in this process)
Soak the bearings overnight in a soap-water mix, then use a toothbrush to scrub them clean. You can use abrasive materials such as steel wool or sandpaper to remove rust from your bearings. If your bearings are visibly dirty after soaking and scrubbing, repeat these steps until they come out looking clean.
5. DRY BEARINGS
Use a rag to dry your bearings, then store them in a safe place until their next use. If you have the time, putting them on the top rack of your oven and baking them for 5-10 minutes will allow your bearings to dry quickly while simultaneously killing any bacteria that could get inside of them and cause them to corrode.
You can also use compressed air or a blow dryer to remove as much moisture as possible from your bearings. Be sure that the bearing shield is facing down when you put each bearing onto a rag- this ensures that all of the water comes out of the shields instead of getting caught inside and causing rusting later on.
6. Re-Lubricate Bearings

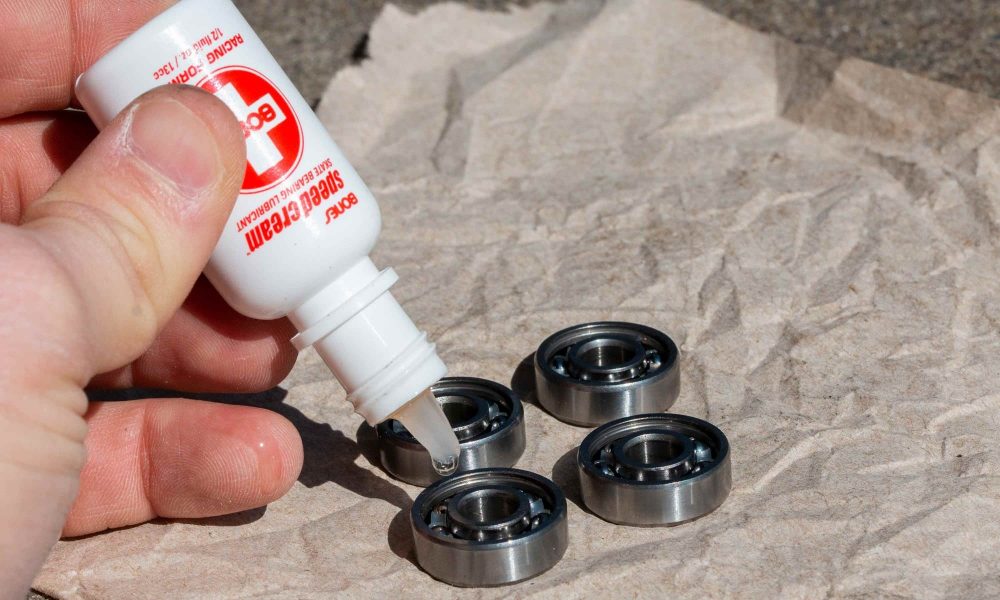
Bearings are meant to glide on a thin layer of grease, so adding lubricant to the inside will ensure that they roll smoothly once you put them back onto your skateboard.
If you removed the shields from your bearings, it is important that you re-grease them with the same kind of grease that you used before (i.e., if you removed yellow wafers, use wax; if you removed green shields, use green bearing grease).
Put a few drops inside each bearing and turn it around several times to spread the oil evenly throughout its surface.
This is an important step when using new bearings or bearings that have been scrubbed clean, as a thin layer of grease will help prevent water from getting inside and causing rusting.
If you don’t have access to bearing grease, standard petroleum jelly will do the job just fine. Put a small drop on top of each bearing before setting it aside so that it can dry overnight.
7. Replace Shields And Mount Bearings

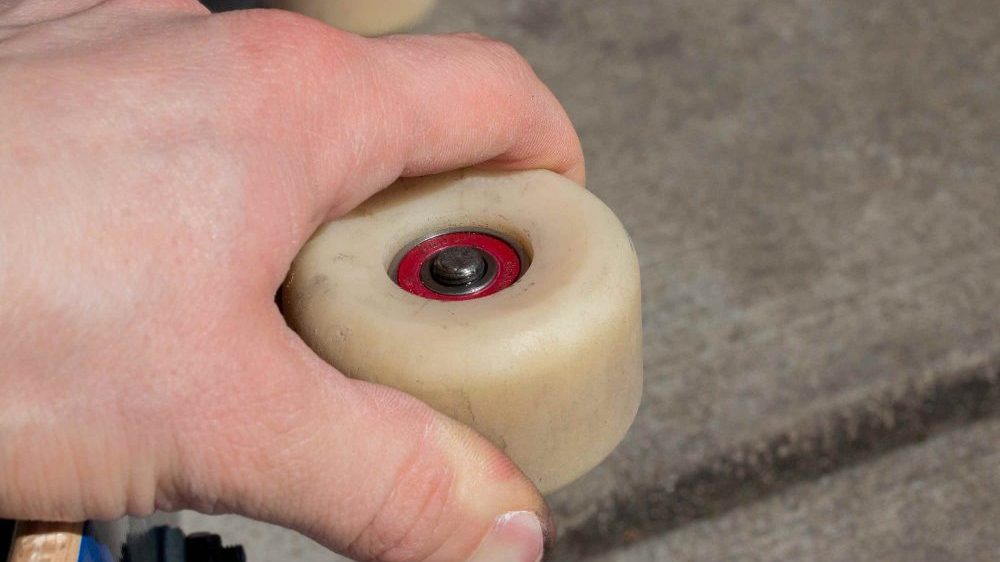
Re-attach the bearings and their shields to your wheel as you removed them. If you’re having trouble getting them snug, try looking for bearing spacers that can be installed into the wheel hub before mounting each bearing; this will allow you to tighten everything up easily.
Do not over-tighten the nuts on either side of your wheel. Doing so will cause the bearings to strip, and they won’t be able to spin freely.
Conclusion
Clean bearings give you a smoother, faster ride and last much longer than dirty ones. Whether you choose to soak or remove your old bearing shields is up to personal preference; both methods will effectively clean out any gunk that has built up inside the bearing and make it like new again.
Keep in mind that removing bearing shields often results in increased rolling resistance, because you are removing a thin layer of grease that acts as a lubricant. If you have the time to do so properly, removing bearing shields is still an excellent way to clean your bearings thoroughly.
Keep in mind that when re-lubricating your bearings, using thin bearing grease or wax will help them roll faster than thicker lubricants such as petroleum jelly or heavy oil.
Bearing shields are not meant to be removed every time you clean the bearings, but if you want to keep them in good condition for years it is a good idea to remove and re-grease them periodically.
Try taking your old bearing shields out after every other cleaning session so that dirt doesn’t have a chance to get inside and cause corrosion.
